Why Manual Upgrade?
The Tails Upgrader only supports minor version updates. When a major version is released — such as from 5.x to 6.x — you need to perform a manual upgrade.
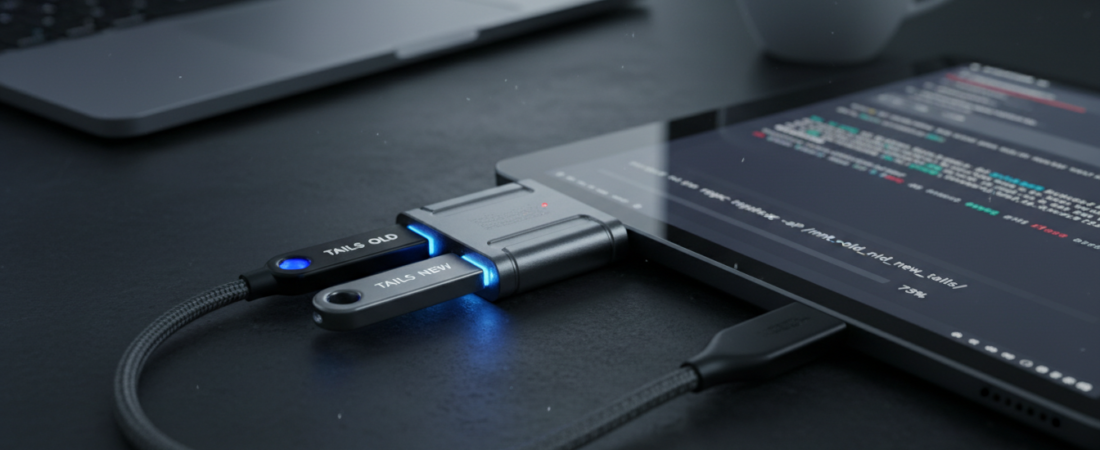
The safest method is to use the official USB-to-USB installation process, which preserves your encrypted persistent volume.
What You Need
- Your existing Tails USB with Persistent Storage
- A second USB stick (8 GB or more)
- Internet access (Tor or clearnet)
Important: If you overwrite your existing Tails USB, you must not format the persistent partition or it will be lost.
Step 1: Boot into Your Current Tails USB
- Start your Tails USB as usual
- Unlock your Persistent Storage at boot
- Connect to the network
Step 2: Download the Latest Tails Image
Go to:
https://tails.net/install/download/
Click “Download Tails” and save the image (e.g. tails-amd64-6.0.img) to the default Downloads folder.
Optional but recommended: Verify the download using the browser extension or PGP signature.
Step 3: Insert the Second USB Stick
Check where the new USB appears using:
lsblk
Look for something like /dev/sdc or /dev/sdb (not /dev/sda, which is your live Tails session).
Make sure the USB has no valuable data — it will be erased.
Step 4: Clone the New Tails Image to the Second USB
Use dd to write the new image to the second USB:
sudo dd if=~/Downloads/tails-amd64-6.0.img of=/dev/sdX bs=4M status=progress
Replace /dev/sdX with your second USB device path.
⚠️ Double check you are not overwriting your main Tails USB!
Step 5: Boot the New Tails USB
- Shut down the computer
- Remove your original Tails USB
- Insert the new Tails USB (the one you just wrote)
- Boot from it
This boots into a clean Tails without persistence.
Step 6: Clone to Your Old Tails USB (With Persistence)
Now plug in your original Tails USB (with persistent storage).
Go to:
Applications → Tails → Tails Installer
Select:
Clone the current Tails to another USB stick
- In the list, choose your old USB stick
- Ensure the installer detects and preserves the persistent storage
- Proceed with the clone
The installer will overwrite the Tails system partition, but leave the persistent partition intact.
Step 7: Reboot Into Your Upgraded USB
- Remove the intermediate (new) USB stick
- Reboot using your original USB stick
- Unlock persistent storage when prompted
If successful, you’ll now be running the latest version of Tails with all your persistent data untouched.
Optional: Verify Everything Is Intact
- Run
ls /live/persistence/TailsData_unlockedto check persistence content - Verify your wallet files, dotfiles, saved settings, and any extra tools still work
Troubleshooting
- Persistent volume not detected? → Use Tails Installer to manually configure it again
- Wrong USB cloned? → Restore from a backup or create a new persistent partition
- Tor not working after upgrade? → Check network time and restart the session
Final Thoughts
Manual upgrades are easy once you understand the Tails partition structure. By using a second USB, you protect your persistent data and get a clean start with the latest secure version. This process is ideal for major upgrades (e.g. 5.x → 6.x) or if your current Tails installation has issues.
For maximum safety, always keep a backup of your TailsData_unlocked folder — especially if it holds keys, wallets, or sensitive notes.


